Strapi Quick Installation and Deployment Guide
Because of personal needs, I wanted to deploy and experiment with Strapi. I won't elaborate much about it here, as online installation tutorials are repetitive and none follow my preferred approach. I'm writing this article to document my own deployment process for future reference.
Deployment Environment
Only NodeJS, npm, and Mysql are required.
Installing Strapi
Open the terminal and navigate to /www/wwwroot/.
By default, Strapi uses SQLite as the database. However, I prefer using Mysql, so I didn't choose the default recommended installation method.
Select Custom (manual settings) and press Enter.
Configure the following options according to your needs.
Here is a screenshot of my configuration:
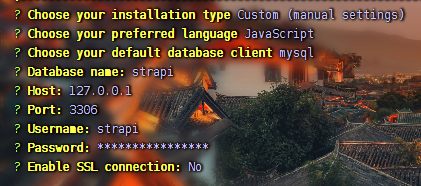
1883536026.png
Installation Success
After successful installation, you'll see a series of commands:
| Command | Description | Recommended Scenario |
|---|---|---|
yarn develop | Starts Strapi in watch mode. Changes to project files will trigger automatic server restarts. | Development phase: Use when debugging code in real time. |
yarn start | Starts Strapi without watch mode. | Production phase: Use to run a stable version after deployment. |
yarn build | Builds the Strapi admin panel (Admin UI). | Before deployment: Must be executed after modifying plugins or admin interface settings. |
yarn strapi | Displays a list of all available Strapi CLI commands. | Command reference: Use when you forget specific commands or parameters. |
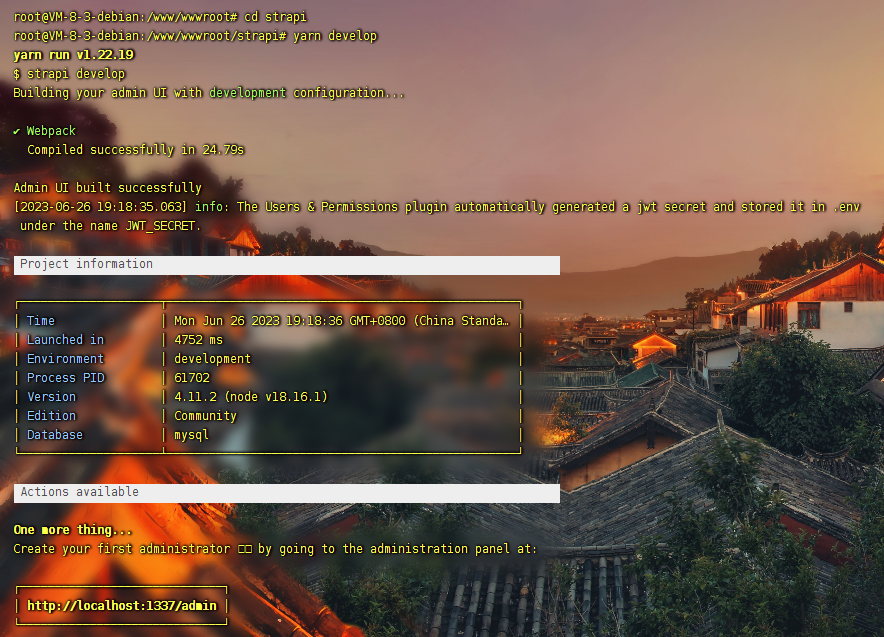
Starting the Project
For the first project startup, follow these steps:
- Enter the project directory:
cd /www/wwwroot/strapi - Compile project static assets:
yarn build - Run the command to start the project:
yarn develop
During development, it's recommended to use npm run develop. For production deployment, use npm run start.
Finally, visit http://your-ip:1337/admin and you'll find that Strapi is successfully running!
1693456644852.png